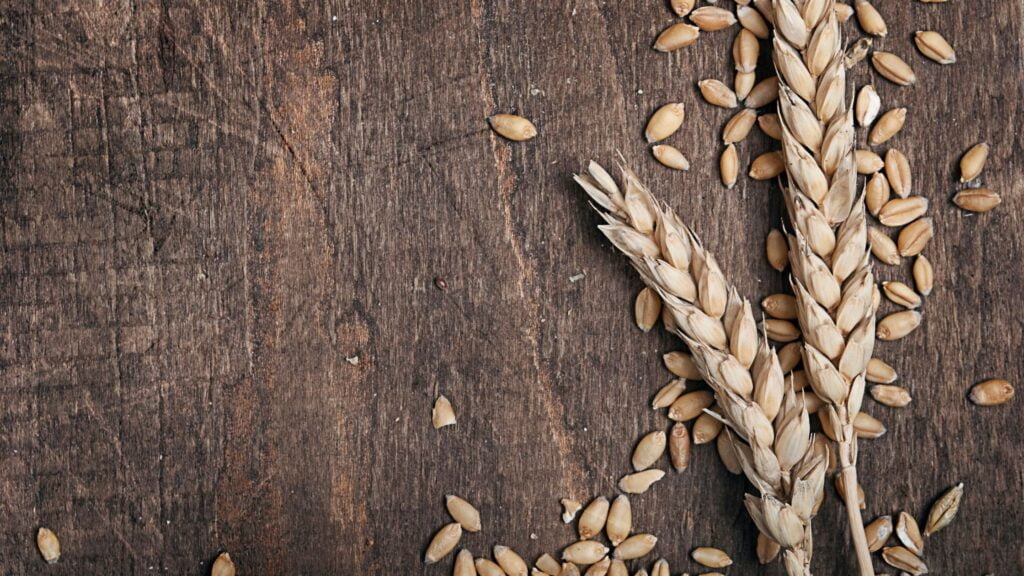
If you are growing your food, you may consider growing your wheat for all your wheat needs. Part of the growing process would also imply you should learn how to harvest wheat properly. The reason why today, we’ll be sharing with you exactly that; how to harvest wheat and more essential tips.
Di, you know that wheat, oats, millet, and other grains are more accessible to grow than most fruits and vegetables! Despite general belief, you do not need acres and acres to produce even a few pounds of flour. The size of an average backyard would do.
And though it may seem to sound a little intimidating at first, especially if you are new to growing your food, you have nothing to worry about. Harvesting is a reasonably straightforward process, and with the right guide and equipment, you’ll soon become a pro at how to harvest wheat right at home.
How to Harvest Wheat
Harvest Wheat by hand
- If you want no tools at all, your bare hands will work.
- You have to cut the wheat down to harvest the seed head. Don’t cut too close to the seed head.
- Make sure you leave enough room to hold the stalks, as it will be helpful when you move on to threshing.
- If you want to completely do this by hand alone with no tools at all, you’ll have to go to each stalk and break off the seed heads individually.
Harvest Wheat using a scythe
- You can start by harvesting wheat with a scythe, sickle, or sharp machete.
- Pile your cut wheat stalks onto a blanket or tarp. Use a rake to gather them together if needed.
- Begin threshing by running the wheat heads through your hands to release the wheat berries. Alternatively, smack the cut stalks against the inside of a bucket or your tarp on the ground.
- Collect your wheat berries in a basket or bucket. The plant debris can be used as mulch or added to your compost pile.
- Slowly pour your wheat berries onto the blanket or tarp. Do this while a light breeze blows, or point a small fan directly at the area where you are pouring. You may also put the wheat berries on your blanket and gently toss them into the air several times. Then you shall have successfully performed winnowing.
Recommended Product: Japanese Weeding Sickle
[amazon box=”B000XAN1DU” class=”lp-product-list” template=”vertical” image_size=”large” title=” ” image_alt=”alttexthere” description=”none” price=”none” button_text=”Check Latest Price” ]
Weeding Sickle 313 The forged high carbon steel blade of this Japanese weeder has a sharp edge and will maintain it longer than most handheld weeders.
The blade’s forward weight and sharp edge helps to make quick work of most tasks. 5″ blade, 13″ overall.
Features:
- High carbon steel Japanese weeder
- Sharp edge
- Quick, easy work for all weeding and gardening
Additional Tips on How to Harvest Wheat
- Some warm-season grains mature in as little as 30 days after germination, while grains that are overwintered may need up to nine months before they are ready to harvest.
- Harvest the grains when the stalks are just beginning to go from green to brown.
- You can tie the stalks into bunches with twine and let them dry for about two weeks in a location protected from rain.
- It is excellent to spread a tarp or sheet over the floor and beat the stalks with a wooden dowel to help to thresh.
How to Harvest Wheat FAQs
Is harvesting wheat hard?
Harvesting wheat is a challenging process that requires good preparation and decent timing.
Harvesting wheat also requires using a combine – a heavy machine that requires training and careful operation. A single person can perform maintenance on and operate a combine, but a large wheat harvest often takes a team working several combines and trucks.
That said, you can ideally grow your wheat at home. Most backyard gardeners are concerned that they will not harvest and use what they grow. Rest assured, it is pretty easy to harvest your wheat berries on a small scale, and it can be a lot of fun for the entire family.
What is the best way to harvest wheat?
Using a scythe or other tool, harvest the grains when the stalks are just beginning to go from green to brown. Cut them just above the ground. Tie the stalks into bunches with twine and let them dry for about two weeks in a location that is protected from rain.
How do you know when wheat is ready to harvest?
There are a few signs that let you know when wheat is ready to harvest:
- The first sign of readiness is color. Look for spikes with no traces of green left.
- Place a kernel of wheat in your mouth and bite down; it should crunch. It should not be soft or chewy. If it’s tough, leave it a while longer to dry down.
- Nodding, seed heads will shake or bow on the stem when ready to harvest.
- That gentle arch will tell you it’s time to pick them before the birds do.
- Cut individual seed heads off, leaving about 10″ of the stem. If you have more than a 4×4 square footbed of the crop, use a scythe and cut stalks down near soil level.
How is wheat grain harvested?
A combined harvester cuts down the plants and separates the grain from the rest of the plant as the plants grow; ahead, seeds form at the top of the plant. It hardens and ripens. The farmer uses a combined harvesting machine to collect the ripe grain when ready, dry, and fully ripened.
How do you hand thresh wheat?
- You only need a bucket to catch your wheat berries as you thrash them. A 5-gallon bucket will work.
- Slam your wheat back and forth against the inside of the bucket so the wheat berries fall to the bottom.
- While this will effectively separate all the wheat berries, you’ll also have some plant debris in the bucket.
- You can also thresh your wheat by simply grabbing the seed heads and rubbing them in your hands until the wheat berries are released from the plant material.
Recommended Product: White Bucket & Lid
[amazon box=”B00A1LUFEY” class=”lp-product-list” template=”vertical” image_size=”large” title=” ” image_alt=”alttexthere” description=”none” price=”none” button_text=”Check Latest Price” ]
Used and cleaned 5 gallons with lids; food-grade buckets never contained chemicals.
Features:
- Heavy-Duty – All-Purpose
- Lid included
- Plastic 100%
How to winnowing the wheat?
Winnowing is just a fancy way to say separating the wheat berries from the plant material. For this process, you can use a fan.
- Point the fan towards the bucket and grab handfuls of wheat berries. Drop the berries back into the bucket in front of the fan. The fan will blow away the plant debris while the heavier wheat berries fall back into the bucket.
- Alternatively, you can do this by hand alone. Just pick up handfuls and drop them over and over until the wind has blown away all the plant debris.
- You’ll be left with wheat berries ready to process into flour or anything else you want to do.
What do you do with wheat after harvesting?
After you harvest your wheat, the wheat berries can be stored or processed into flour. Wheat berries last longer than processed flour, so it’s best to keep them instead of processing them without the need for flour right away.
How to store wheat?
Maintain a temperature of 5 C to 15 C where grain is stored. The higher the temperature, the faster the grain will spoil.
Store the cleaned grain in glass jars in a cool dark place. When ready to use, mill the grain as needed with a heavy-duty blender or a countertop grain mill.
Recommended Product: Bormioli Rocco Glass Fido Jars
[amazon box=”B08BT1N7H7″ class=”lp-product-list” template=”vertical” image_size=”large” title=” ” image_alt=”alttexthere” description=”none” price=”none” button_text=”Check Latest Price” ]
This large jar is perfect for kefir, sauerkraut, kombucha, beets, grains, and any other fermented vegetables or foodstuffs you might fancy. The glass jars are large enough to contain lots of goodness.
The jar has a wire-hinged airtight seal lid, making it the perfect option for storing bulk or dry foods, like rice, beans, cookies, candies, and drinks.
Never worry about stale taste. Keep your kitchen organized and your foodstuff fresh and appealing.
Features:
- Miscellaneous Storage
- Wide mouth
- Quality
Recommended Product: KitchenAid KGM All Metal Grain Mill Attachment
[amazon box=”B003DVP1V6″ class=”lp-product-list” template=”vertical” image_size=”large” title=” ” image_alt=”alttexthere” description=”none” price=”none” button_text=”Check Latest Price” ]
When you bake with home-ground flour, you will get all the good you could get from a grain. Choose from ‘cracked’ to extra-fine consistency. Comes with a cleaning brush.
Assemble the grain mill and attach it to the mixer. Set the mill on the most delicate setting and then turn the knob back two notches.
Turn the mixer to speed ten and grind corn into the mixer bowl placed under the mill. Repeat with wheat berries after setting the mill on the most delicate and turning the knob back one notch.
Features:
- Grinds low moisture grains
- Grinds from coarse to fine
- Attaches to the power hub


